For months, we have been bookmarking interesting, useful and creative Adobe Illustrator tutorials and Resources, so you can now rest assured that you will have the necessary tools to get the job done.
Due to this phenomenally vast amount of vector packs, brushes, patterns available, you can now add dirt, rust, floral effect, swirls, mold, oil stains in your artwork and to give it any look you want.
So in today’s post, you’ll find an assortment of top-notch tutorials, brushes, patterns, vector packs, tips & tricks and .EPS downloadable files that others have freely contributed to the design community.
To make your job a little bit easier, we have categorized this post into 6 section, the links below will get you to your desired section.
- Adobe Illustrator Tutorials
- Adobe Illustrator Patterns
- Adobe Illustrator Tool Tips & Tricks
- Adobe Illustrator Brushes
- Vector Packs
- Vector Sources
Adobe Illustrator Tutorials
- Create a Gang of Vector Ninjas

In this tutorial, we will learn how to construct a group of cool vector ninja characters using just the basic shapes and a variety of simple tools, making it a good start for Illustrator beginners.
- Logo Design Project Step by Step Walkthrough

Follow this step by step documentation of the whole process of the logo design from conception to completion.
- Logo Design Project Step by Step Walkthrough
- How to Draw Your Own Vector Wings
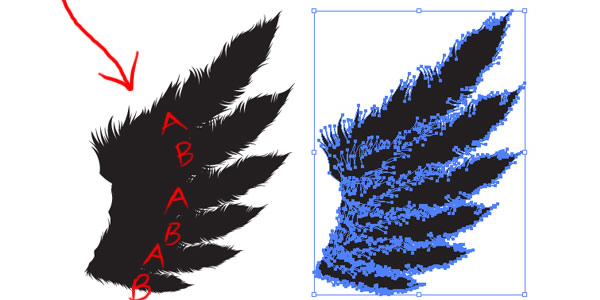
This tutorial is all about how to make those really cool hyper detailed wings that all those bro-dawg brands are rocking.
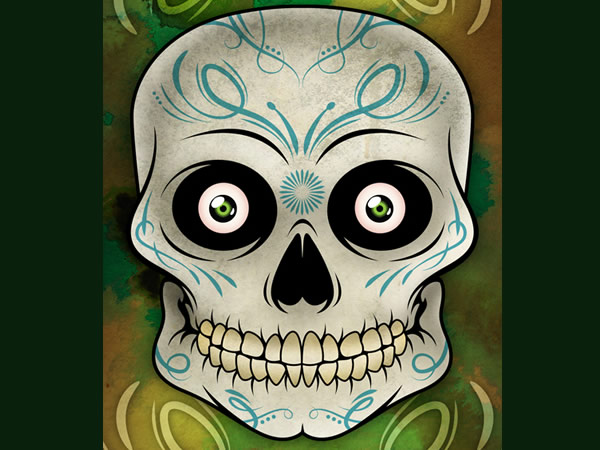
- Master Painting in Illustrator
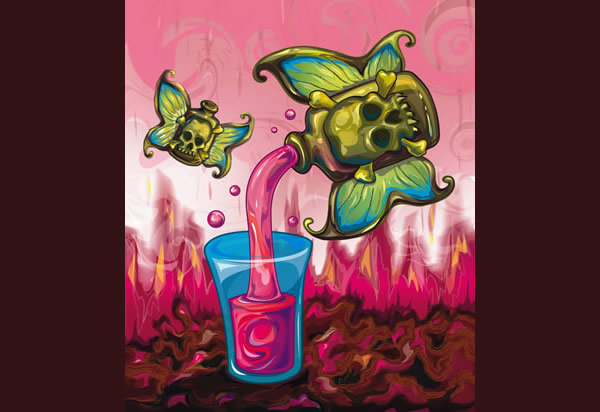
Transform your sketches into stunning textured artworks.
- Woman and Cats How-To Advanced

- Experimental text effects

Twist your words out of recognition to create cool and unusual illustrations, with these great tips.
- Create A Wood Grain Texture
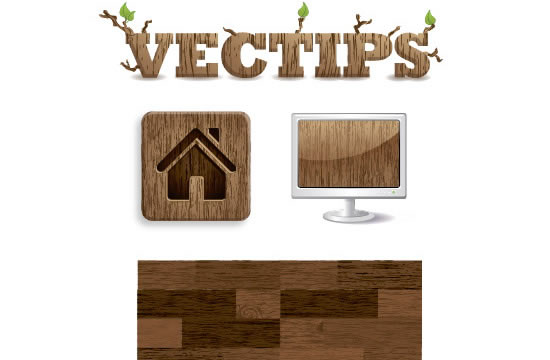
Twist your words out of recognition to create cool and unusual illustrations, with these great tips.
- How to make retro/futuristic curves in 10 Steps

Achieve the space like scenery with the glowing lines using Illustrator and Photoshop. You’ll learn how to add subtle effects using textures and different blending modes.
- Twitterlove Bird, from sketch to vector in Photoshop and Illustrator

- Create an envelpe icon with a satin feel

In this tutorial you will learn how using the basic tools of illustrator , ie gradient , rectangle , pathfinder and line can create a simple looking envelope.
- 3D Text Tutorial

5 Steps tutorial describing the process of 3D Typography creation without any 3D software. You’ll need only Adobe Illustrator and Photoshop.
- Create the First Page of a Fairy Tale Story Book, with a Hint of Kitsch
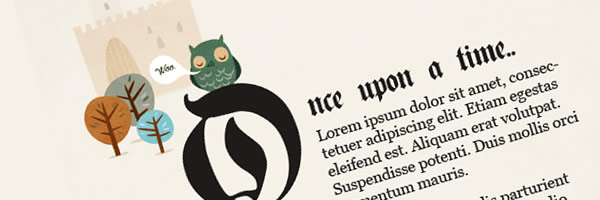
A tutorial which told of magical and enchanting ways to create Fairy Tale pages in Adobe Illustrator.
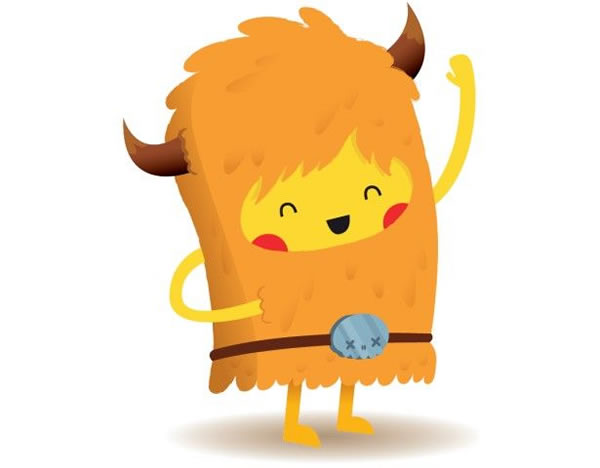
- How to Create a Cute Bunny Vector Character
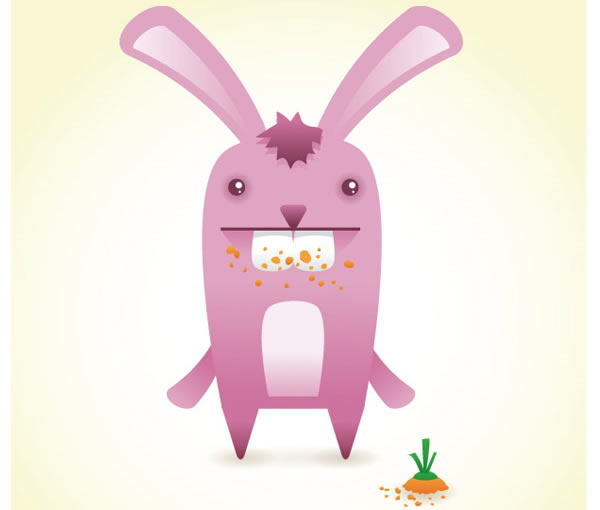
In this Illustrator tutorial, you will learn how to create a cute bunny character. This tutorial uses simple shapes and gradients that are easy to apply to other character illustrations. The great thing about his tutorial is you don’t have to be an amazing artist to create it!
- 30 Tutorials That Will Teach You Illustrator
thirty Illustrator tutorials that will teach you the nuances and subtleties of Illustrator.
- Use Adobe Illustrator to Create a Clean Website Layout
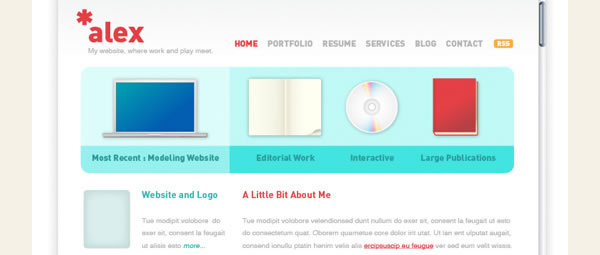
This tutorial is perfect for the beginning to intermediate Adobe Illustrator artist. Learn how to create a layout of a website and prepare it for use on the web.
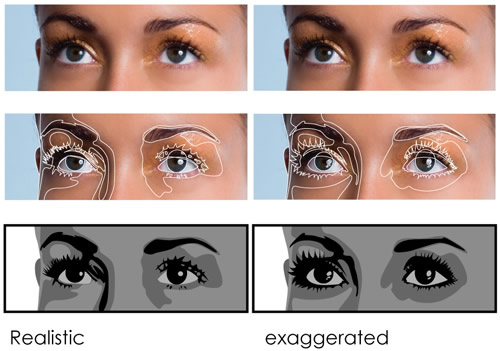
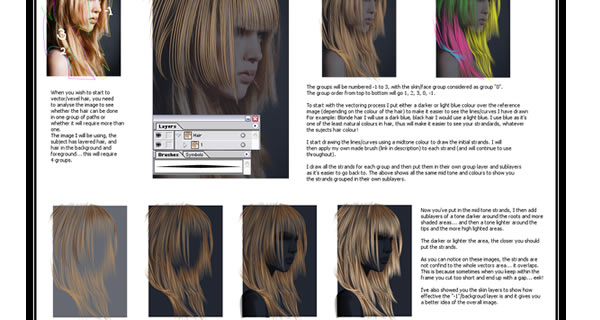
- Easily Make Shiny Realistic Vector Hair
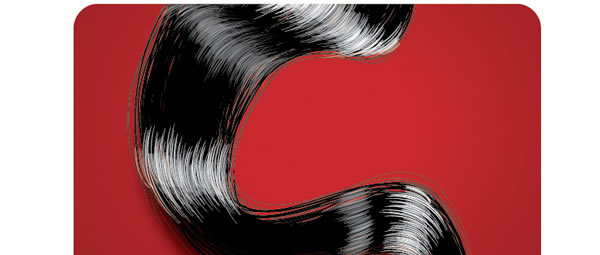
This tutorial will show the intermediate Adobe Illustrator artist how to easily make realistic-looking shiny vector hair. You will learn how to create S shapes and using them to construct natural looking hair.
- Vectoring Hair
- Creating A new Typeface in illustrator

In this tutorial you will learn how to create a nice typeface using Illustrator CS4 and its new, and very useful, features for editing anchor points.
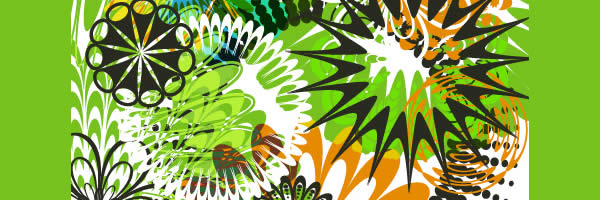
- Super cool abstract vectors illustrator and photoshop

In this tutorial you will learn how to create a abstract sort of flower using the Blend Tool in Illustrator then playing with it in Photoshop to produce a very colorful wallpaper.
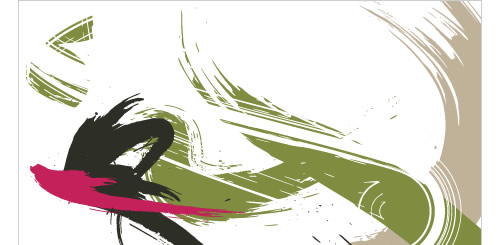
- Crazy cool vectors illustrator and photoshop

In this tutorial you will create a very nice image inspired by the amazing work of Andy Gilmore.
- Creating vector characters in Illustrator
- Character Illustration

- 20 Exceptional Websites for Learning Adobe Illustrator

In this collection, you’ll find 20 excellent websites and blogs that provide high-quality tutorials and information on vector illustration and Adobe Illustrator.
- 50 Excellent Adobe Illustrator Video Tutorials

50 excellent Adobe Illustrator video tutorials.
Creating Adobe Illustrator Patterns
- Create a Themed Repeating Pattern in Illustrator

Follow this Adobe Illustrator tutorial to create a range of simple vector objects based around the theme of a designer’s lifestyle, then tile them together into a cool looking repeating pattern.
- Memory Lock

- Design your own pattern swatches
Create your own cool repeating patterns from combinations of vector elements, using Illustrator & Photoshop.
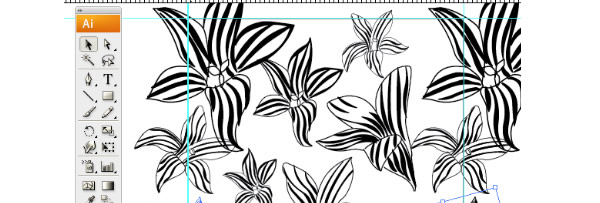
- 3 ways to apply a line pattern effect on text in Illustrator
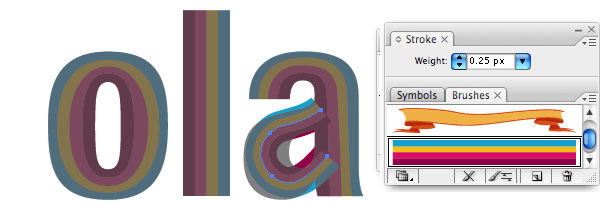
3 different technique on how you can apply a line pattern effect on text in Illustrator.
- Creating-Pattern
Create your own cool repeating patterns from combinations of vector elements, using Illustrator & Photoshop.
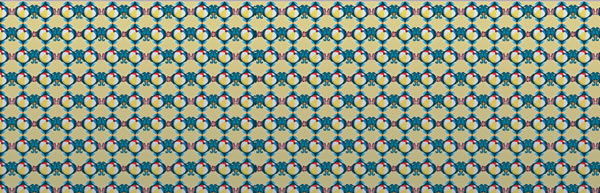
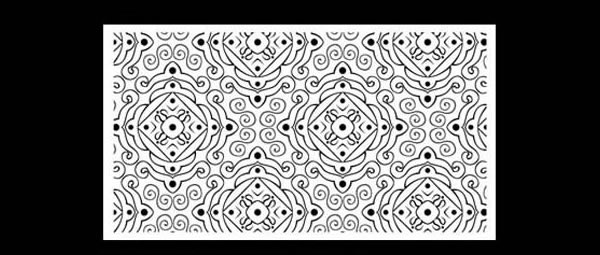
- Creating geometric patterns in Illustrator
How to create a geometric pattern shape and fill a background with it.
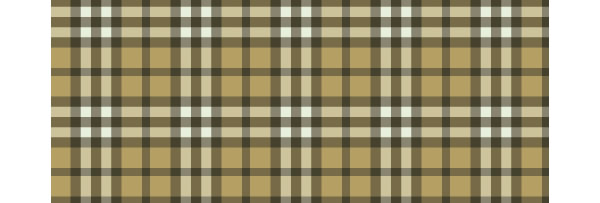
- Create a Burberry Style Plaid with Illustrator in 4 Steps
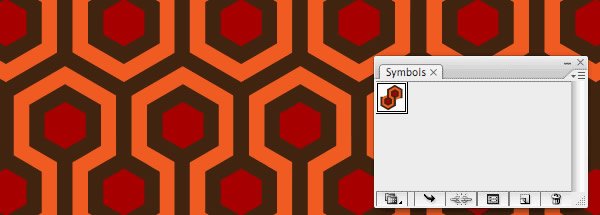
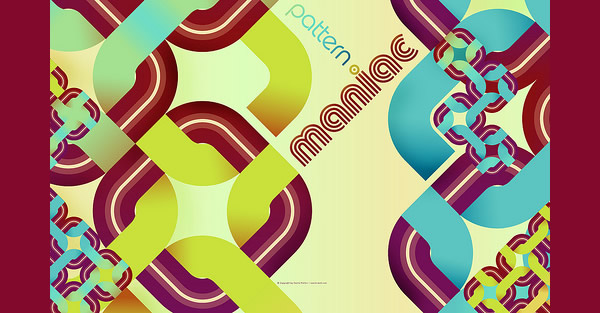
- Pattern Maniac
- How to Create a Seamless pattern in 10 steps
- Patterns and Shapes in Adobe Illustrator
This tutorial is based on an advertisement that uses patterns and shapes to create a unique design effect.
- 450+ Abobe Illustrator Patterns

Adobe Illustrator Brushes
- 30 Illustrator Pattern Brushes for Making Flowers and Circular Designs
A set of 30 Pattern brushes for a fast way to get perfectly spaced, intricate circular designs.
- 105 More Delicious Water Color Illustrator Brushes
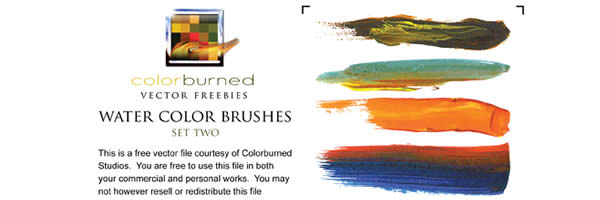
105 amazingly realistic-looking water color Illustrator brushes.
- Floral n Veins Brushes

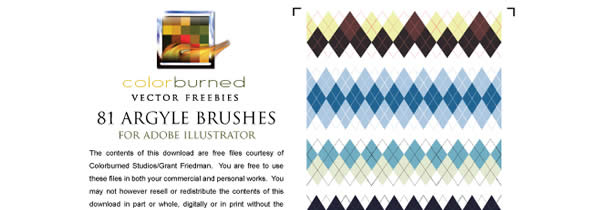
- 81 Amazing Argyle Illustrator Brushes
- 50 Killer Retro Starburst Brushes

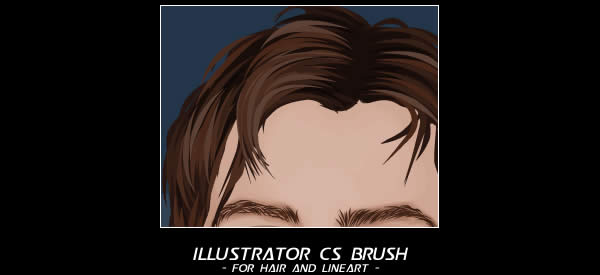
- Hair and line art brush for AI
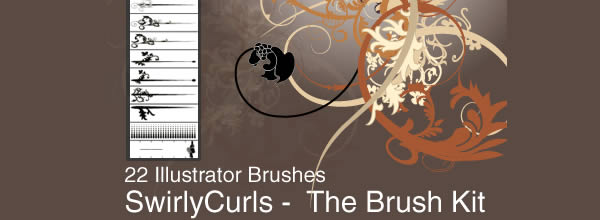
- Swirly Curls – Sick Brush Kit
- Thorny vine brushes
- 10 custom vector-based Art Brushes

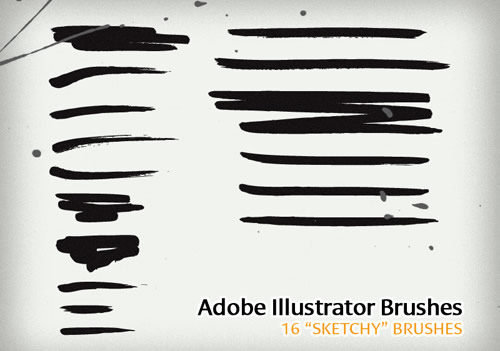
- 16 “Sketchy” Illustrator Brushes
- Ink/Watercolor
Adobe Illustrator Tool Tips & Tricks
- Illustrator’s Blend Tool: A Comprehensive Guide
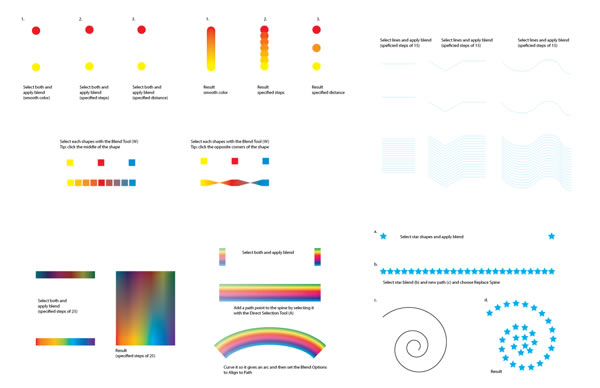
This comprehensive guide can help you unlock your creative potential and teaches the features, shortcuts, and in depth methods that the Blend Tool has to offer.
- How to Use Effects to Create a Cool Design

Effects are similar to filters, but the key difference is that they are non-destructive, meaning you can remove or modify them later on (through the appearance palette). Here is a review of a few quick Illustrator tips.
- 10 Illustrator Resolutions for 2009

10 features most people don’t use in Illustrator, but should.
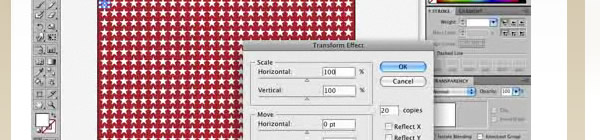
- Transform Again in Illustrator

You can achieve surprisingly cool results using the Transform Again feature in Illustrator starting from a simple shape. As you all know simplicity is my motto. Here is a step-by-step tutorial using this simple feature.
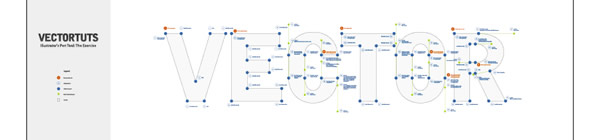
- Illustrator Pen tool exercises
- Using the Blend tool and Distort Zig Zag Effect

- Recolor artwork using Illustrator’s LiveColor
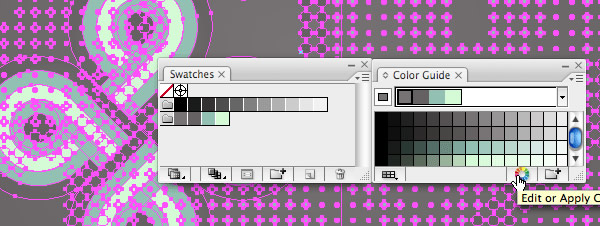
How you can recolor your artwork in Illustrator CS3 using the LiveColor feature.
- Colorful Waves

This is a common trick to produce abstract colorful waves in illustrator.
- Realistic Curtain

Create a realistic curtain using the gradient mesh.
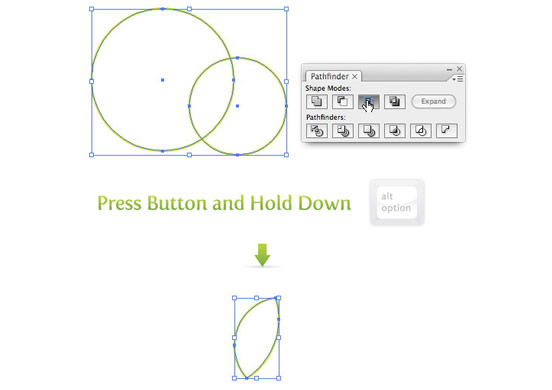
- Simultaneously Expand When Creating Compund Shapes
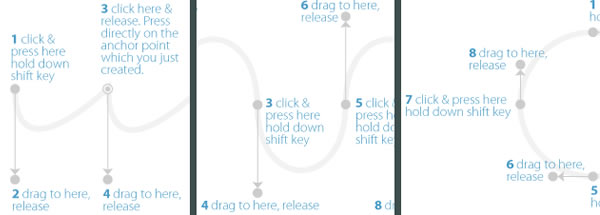
- Illustrator’s Pen Tool: The Comprehensive Guide
This comprehensive guide aims to introduce or remind you of features, shortcuts, and methods for working with what is arguably Adobe’s most essential tool.
Free Vector Packs & Resources
- Safari and Zoo Animals
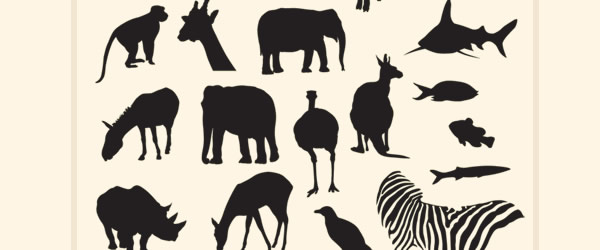
A free collection of vector animal silhouettes, featuring a range of land based mammals alongside some aquatic life.
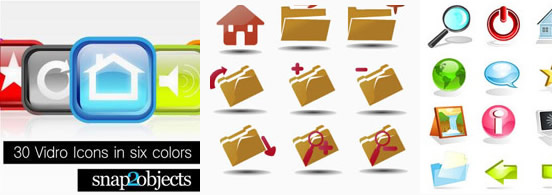
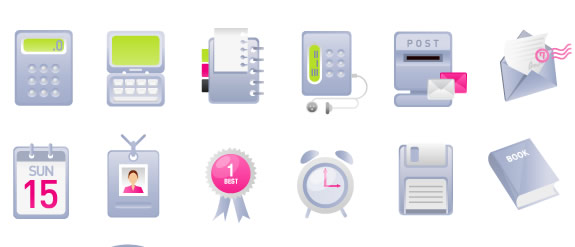
- Free Vector Icon Set 1 – 25 Icons

- Free character pack

- The Ultimate Collection Of Free Vector Packs
60 of the best and most useful free vector packs.
- Transportation Silhouettes

- Vector Elements

- Ornate, Floral, Swirly and Curly Vector Roundup

- 60 Free Vector Icon Packs for Design Professionals
- Seamless Swirls
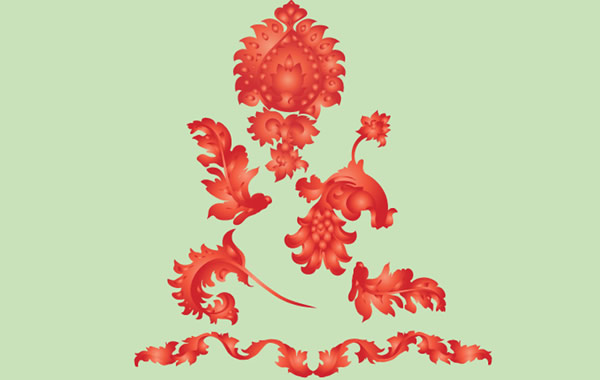
- Free Floral Vector Ornament
- Illustrator pattern swatches and textures

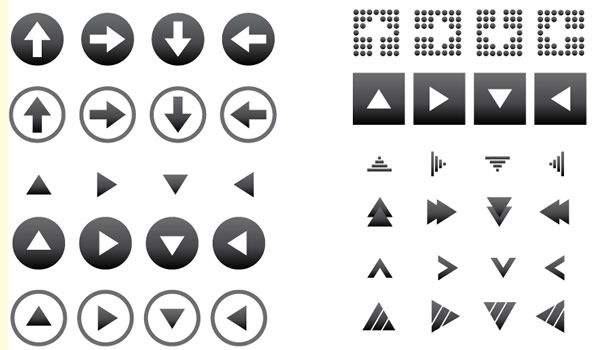
- 64 Vector Arrow Icons
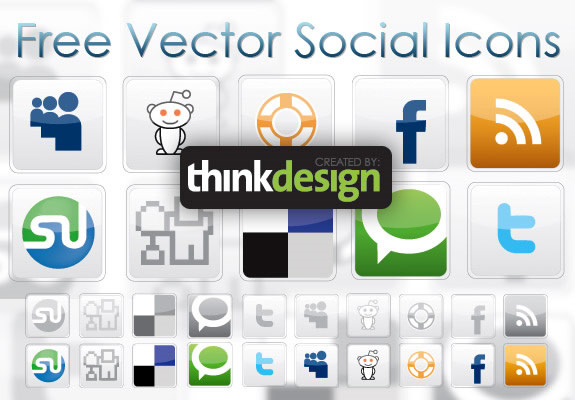
- Free Vector Social Icons
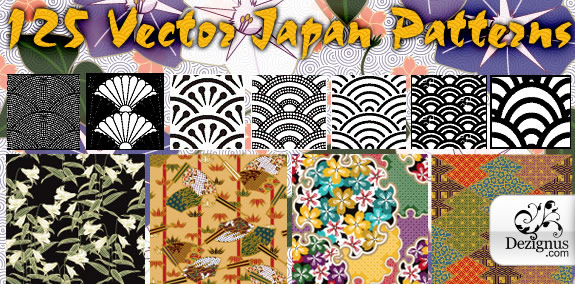
- 125 free Japanese Patterns
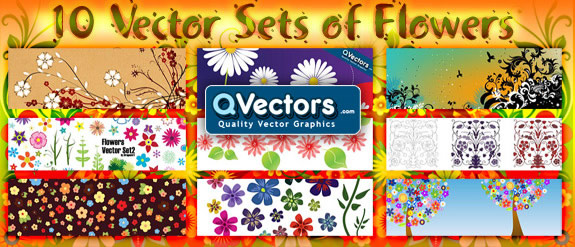
- 10 Vector Sets of Flowers
- 17 Exclusive Web Icons
- Flourish Vector Ornaments
Vector Sources
- Free Vectors

An online gallery of free to use vector graphics.
- QVectors

- Cool Vectors

- Vector4free

source: www.noupe.com


